Upgrading to a tankless water heater offers many advantages that make it an attractive option for many homeowners. Unlike traditional models, tankless models provide hot water on demand so no energy is wasted heating unneeded water – leading to lower utility bills while guaranteeing you never run out of hot water. It’s a great choice for large families or anyone who hates waiting around for showers to warm up!
Installing a tankless water heater requires more than simply switching out your old model. It takes careful planning and execution to ensure peak efficiency and safety. Proper installations mean your heater also aligns with local building codes and manufacturers’ specifications. These specifications are set out to optimize unit performance while lowering risks like water damage or gas leakage. And while cost savings from energy efficiency are appealing as we look to install tankless water heater, – proper installation processes are key if we wish to maximize its technology and innovative features.

Step 1: Gather Tools and Materials
As you set out on the journey to install your tankless water heater, it’s worth gathering all the necessary tools and materials. That’ll help you keep working on tasks at hand without having to run to your nearby hardware store every now and then. So, let’s jump right into the detailed list of tools and materials you’ll need to get started.
Tools Needed
1. Adjustable Wrenches: Essential for tightening and loosening various fittings and connections.
2. Pipe Wrenches: Ideal for gripping and turning pipes, especially useful when dealing with gas lines.
3. Screwdrivers: Both flathead and Phillips head for managing diverse screws during the installation.
4. Tape Measure: To accurately measure spaces and pipe lengths.
5. Pipe Cutter: For cutting copper water lines to the required lengths.
6. Torque Wrench: To ensure all bolts and nuts are tightened to the specified torque, preventing leaks.
7. Drill with Masonry Bits: For mounting the unit to the wall, especially if drilling through concrete.
8. Reciprocating Saw: Useful for cutting through any existing pipes or making space for new pipes.
9. Flashlight or Work Light: Provides adequate lighting, crucial for working in dimly lit spaces like basements or utility rooms.
10. Leak Detection Solution: For identifying any gas leaks from connections.
Materials Needed
1. Venting Materials: Specific to tankless water heaters and must comply with local codes.
2. Copper Piping: Depending on your setup, you may need different diameters of copper pipes for water lines.
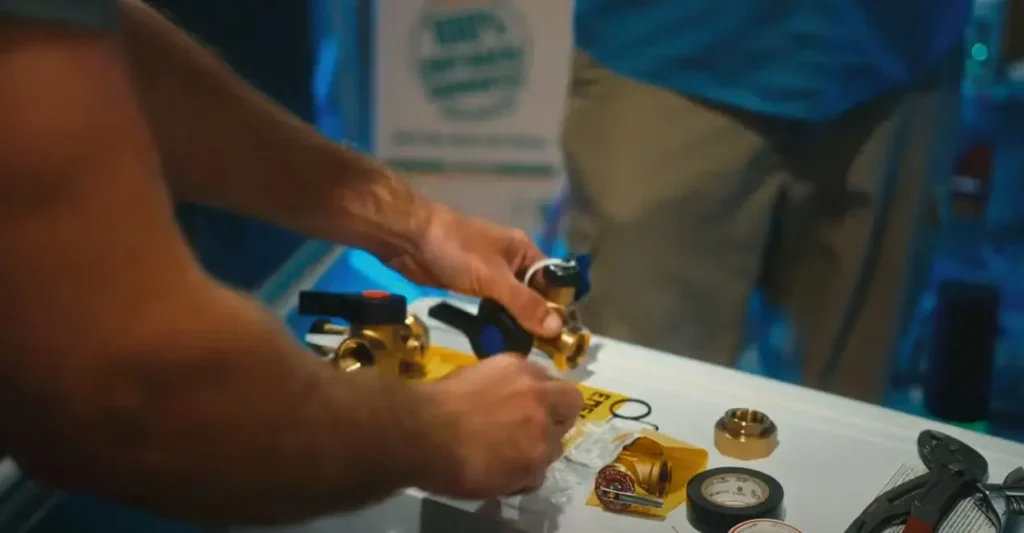
3. Fittings and Valves: Includes elbows, tees, unions, and shutoff valves suitable for both water and gas lines.
4. Gas Line Material: Flexible gas connectors and black iron pipes are commonly used.
5. Sealants: Teflon tape for water piping and pipe dope for gas connections, ensuring all joints are airtight and watertight.
6. Mounting Hardware: Screws and anchors suitable for the wall type, ensuring a secure mount for the water heater.
Suggested Brands and Types
- For copper piping and fittings, brands like Mueller Industries and NIBCO are known for their reliability and quality in tankless water heater systems.
- For venting materials, ensure they are rated specifically for use with tankless water heaters, such as Z-Vent or Duravent products, which are designed to handle high temperatures and exhaust flow.
- When selecting sealants, choose high-quality options like RectorSeal or Oatey, which are specifically formulated for plumbing applications and provide durable, leak-proof seals for tankless water heaters.
Step 2: Preparation and Safety
Turning Off Utilities
Before beginning the installation of a tankless water heater, you must ensure the work area is safe. Begin by shutting off the main water supply to stop any accidental leakage into your home during the tankless water heater installation—this can usually be found by locating and turning off the main shut-off valve near where the main lines enter your home. Make sure the gas shutoff valve is completely in its off position to stop the flow!
Now is also the time to address the power supply. If you’re installing an electric tankless water heater, switch off its circuit breaker. This ensures no electrical current runs towards its installation site, protecting against shocks. For gas-powered models, such as gas tankless water heaters, however, shutting off their gas supply may require you to locate and close off their main valve (usually near your gas meter) to ensure no gas leaks or exposure occurs during installation.
Consulting Local Codes and Regulations
Understanding and following local building codes and regulations are of utmost importance when installing a tankless water heater. Each municipality has specific codes which stipulate proper tankless water heater installation procedures and safety standards for plumbing and electrical systems—including tankless water heaters—to ensure safe installation processes that prevent potential hazards.
Consult your local building department or professional plumber to gain information on the codes governing heater installations in your area, such as where and how the heater should be mounted, what materials must be used when venting gas models, or specific electrical requirements when installing electric models. Compliance with these regulations not only ensures the operational safety and efficiency of tankless water heater installations but can even result in legal penalties should any deviation occur—failing to do so could put users in danger, cause system failures, or incur significant financial penalties.
Step 3: Remove the Old Water Heater (if applicable)
Safely Draining and Disconnecting the Old Unit
Preparing to install a tankless unit requires you to first disconnect all utilities, starting with disconnecting your old water heater. For gas models, ensure all gas supply lines have been completely shut off, while all-electric units and heaters must have their electricity turned off at the breaker panel.
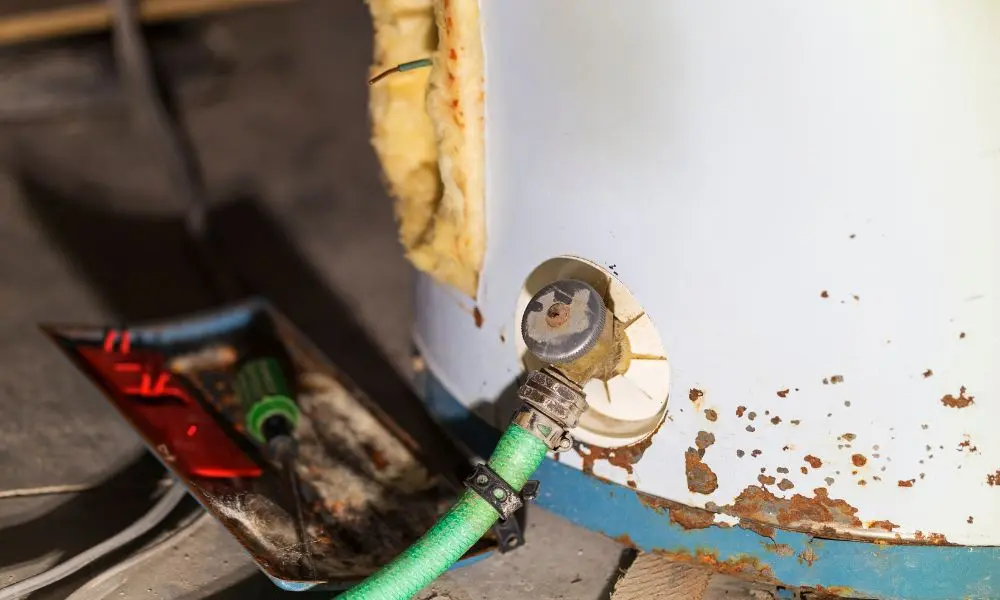
Start the removal process by connecting a garden hose to the drain valve at the bottom of the tank and running its other end to an area with no potential environmental repercussions or damage risks. Open the drain valve so the contents of your old water heater can flow out over time; depending on its capacity and sediment content, this could take several minutes or hours.
While your tankless hot water heater is draining, disconnect the water supply lines using tube cutters if any connections are soldered together; use caution as any residual water may still leak out once these connections have been severed. With gas water heaters, use wrenches to disconnect their gas lines as well before capping them afterward to prevent leaks.
Tips on Responsible Disposal or Recycling of the Old Water Heater
Once your old water heater has been properly drained and disconnected, it needs to be safely moved from its location. Given their weight and size, seek assistance if possible in moving it without risking injury to yourself or others.
It’s essential that when disposing of an old water heater, it be done responsibly. Many parts are recyclable. Check with local waste management services to see if they offer pick-up or recycling centers, as some areas may have specific regulations or facilities dedicated specifically to recycling old appliances.
Consider approaching local scrap metal recyclers who accept used water heaters; sometimes they even offer rebates depending on current metal prices. Another possibility would be checking with retailers or companies that install new water heaters to see if they offer take-back services that handle disposing of your old unit in an environmentally responsible way.
Step 4: Install the New Tankless Unit
Choosing the Right Location for Installation
Location is of the utmost importance when selecting to install a tankless water heater, for its efficiency and ease of maintenance. Take into consideration local building codes governing its installation: this may involve adhering to gas and water heater supply lines and ventilation for gas-powered models; additionally, allow easy access for repairs or maintenance in future; ideally install near frequently-used hot water outlets to reduce delivery lag times and heat water loss during water heater delivery.
Consider factors like wall strength (for mounting), proximity to electrical outlets (if using an electric tankless water heater) and outdoor protection if installing outside. Avoid areas prone to freezing temperatures unless specifically designed to withstand such temperatures; additionally ensure there is adequate drainage on site to handle any condensate or leakage from the unit.
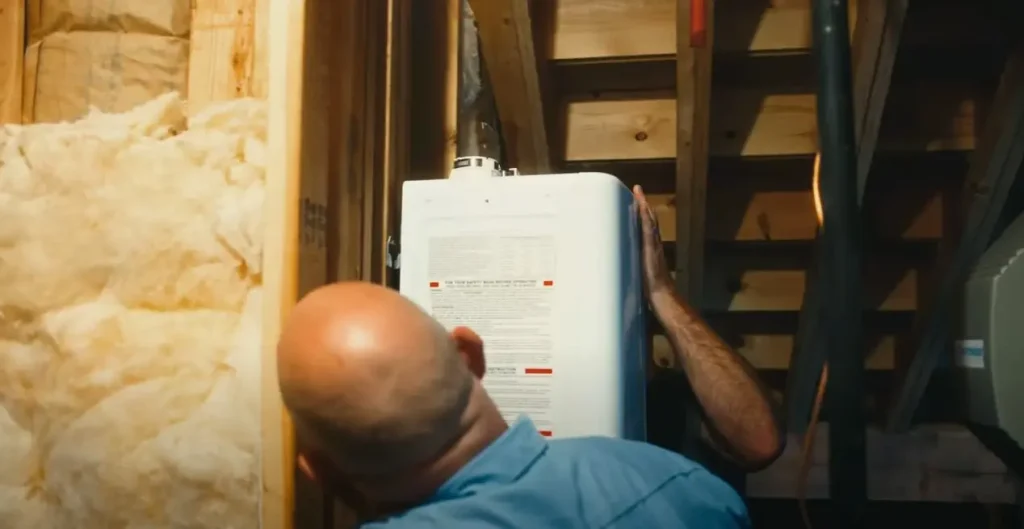
Detailed Steps on Mounting the Unit Securely to the Wall
Mounting your tankless water heater securely is crucial to its long-term stability and operation. Before mounting the unit, check with its manufacturer’s installation manual for specific instructions and clearance requirements around its unit. Here is a general guide.
- Measure and Mark To locate where your tankless water heater will be mounted on the wall using a stud finder and mark them clearly for easy reference later, using a measuring tape is generally enough. Tankless water heaters need to be secured securely against wall studs due to their heavyweight.
- Prepare the Mounting Hardware Secure the mounting hardware provided with your tankless water heater to the wall by fastening a mounting bracket or plate using heavy-duty screws, making sure to level and position according to its dimensions.
- Hang the Unit After positioning the tankless water heater on its mounting hardware, secure it using any necessary screws or brackets. Some models hook onto brackets while others may require additional screws for optimal placement. A level can help ensure that its placement remains vertical – any misalignments could your heater inefficient – making you question if your tankless water heater was worth it in the first place.
- Secure Connections Once installed, connect it to existing water heater lines, gas supply (if applicable), and electrical supply for electric tankless water heaters. Using appropriate tools and sealants, ensure all connections are tight and leak-free to ensure safe use. With gas tankless water heaters it is vitally important that any possible leaks be checked with soap solution or a gas leak detector to ensure maximum safety.
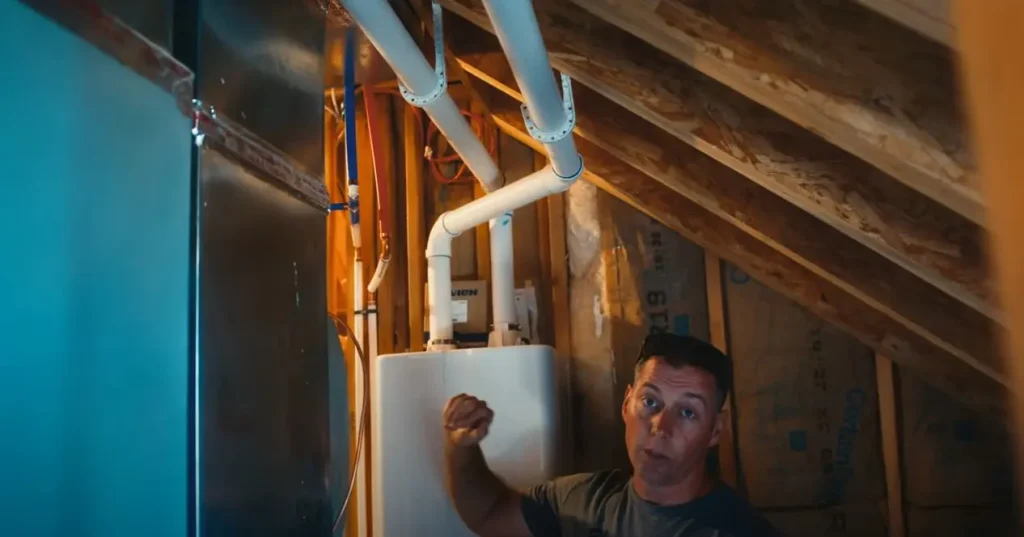
- Venting (for gas tankless water heaters) Install vent pipes properly to ensure they lead away from windows, doors, or ventilation intakes and into the open air. Adhere to manufacturer guidelines when choosing and installing ventilation materials.
A proper water heater install (such as one you’d get by following the above steps) guarantees reliable access to hot water for your famliy needs.
Step 5: Connect Water and Gas Lines (if gas-powered)
Connecting to Existing Water Lines
Accurately connecting your new tankless water heater to existing water lines is key for optimal performance and leak-free operation. Start by locating the cold water supply line and hot water exit line; many standard connections feature flexible hose connections designed to ease tankless water heater installation processes while accommodating slight misalignments in their placement.
1. Shut Off the Water Supply: Before you begin, make sure the main water supply has been turned off.
2. Prepare the Pipes: It is essential that all pipe ends be thoroughly deburred to ensure smooth connections in order to avoid leakage and seal damage. This process helps prevent leaks.
3. Install Shutoff Valves: Install a shutoff valve on the cold water line if one does not already exist for easier maintenance and troubleshooting in the future.
4. Connect Flexible Water Lines: Attach flexible water heater lines from the tankless water heater to its respective supply and exit pipes using the plumber’s tape on threaded connections to ensure an airtight seal.
5. Secure the Connections: Tighten all connections using an adjustable wrench, being mindful not to overtighten and risk damaging fittings.
Safely Connecting Gas Lines (if applicable)
Correct tankless water heater installation of gas tankless water heater units’ gas lines is key not only for optimal system performance but also for safety considerations; leaks could prove hazardous, so it is vital that these steps be followed precisely.
- Inspect Existing Gas Line: Assure your existing gas line can meet the demands of a tankless water heater by inspecting its size and integrity. This may involve conducting an evaluation.
- Connect the Gas Line: To connect your water heater’s gas pipe and flexible gas connectors, use flexible connectors which accommodate for minor movements more easily than rigid pipes and offer better insulation than rigid pipe installations.
- Apply Pipe Dope: Pipe joint compound should be applied on all threaded connections for better seal. Unlike plumber’s tape, which is intended for plumbing applications only, pipe dope provides an effective and long-lasting seal designed to withstand high-pressure natural gas systems.
- Test for Gas Leaks: Once everything is connected, turn on the natural gas and use a soapy water solution to apply to each connection. Any bubbles that form indicate leaks that need tightening or resealing.
- Check Gas Flow: Verify that the tankless water heater is receiving natural gas by temporarily turning it on and watching its burner. If there are issues with gas flow, check your connections and ensure the gas valve is fully open.
As soon as all connections for both water heaters and gas water heaters have been made, and any access panels or barriers sealed, it is recommended to conduct pressure tests under normal operating pressures to verify leak-free connections from the start, and before sealing access panels or barriers. Doing this can prevent costly repairs later down the line; for your own safety if unsure, always consult or hire professional plumbing services if unsure how best to complete these tasks safely and correctly.
Step 6: Make Electrical Connections (for electric models)
Wiring the Unit to the Power Supply
Installing an electric tankless water heater properly requires knowing how to connect its wiring system in your home, in order to achieve both performance and safety. Here’s how you can ensure it’s done properly.
1. Check Electrical Requirements: Be sure to read and comply with your new water heater’s voltage and amperage specifications found in its installation manual before beginning, as this step determines both wire gauge requirements as well as type of circuit breaker needed.
2. Install a Dedicated Circuit: Electric tankless water heaters usually require a dedicated circuit. This means running a new cable from your electrical panel to the location of the water heater. Use the appropriate gauge of wire as specified by the manufacturer to handle the amperage load.
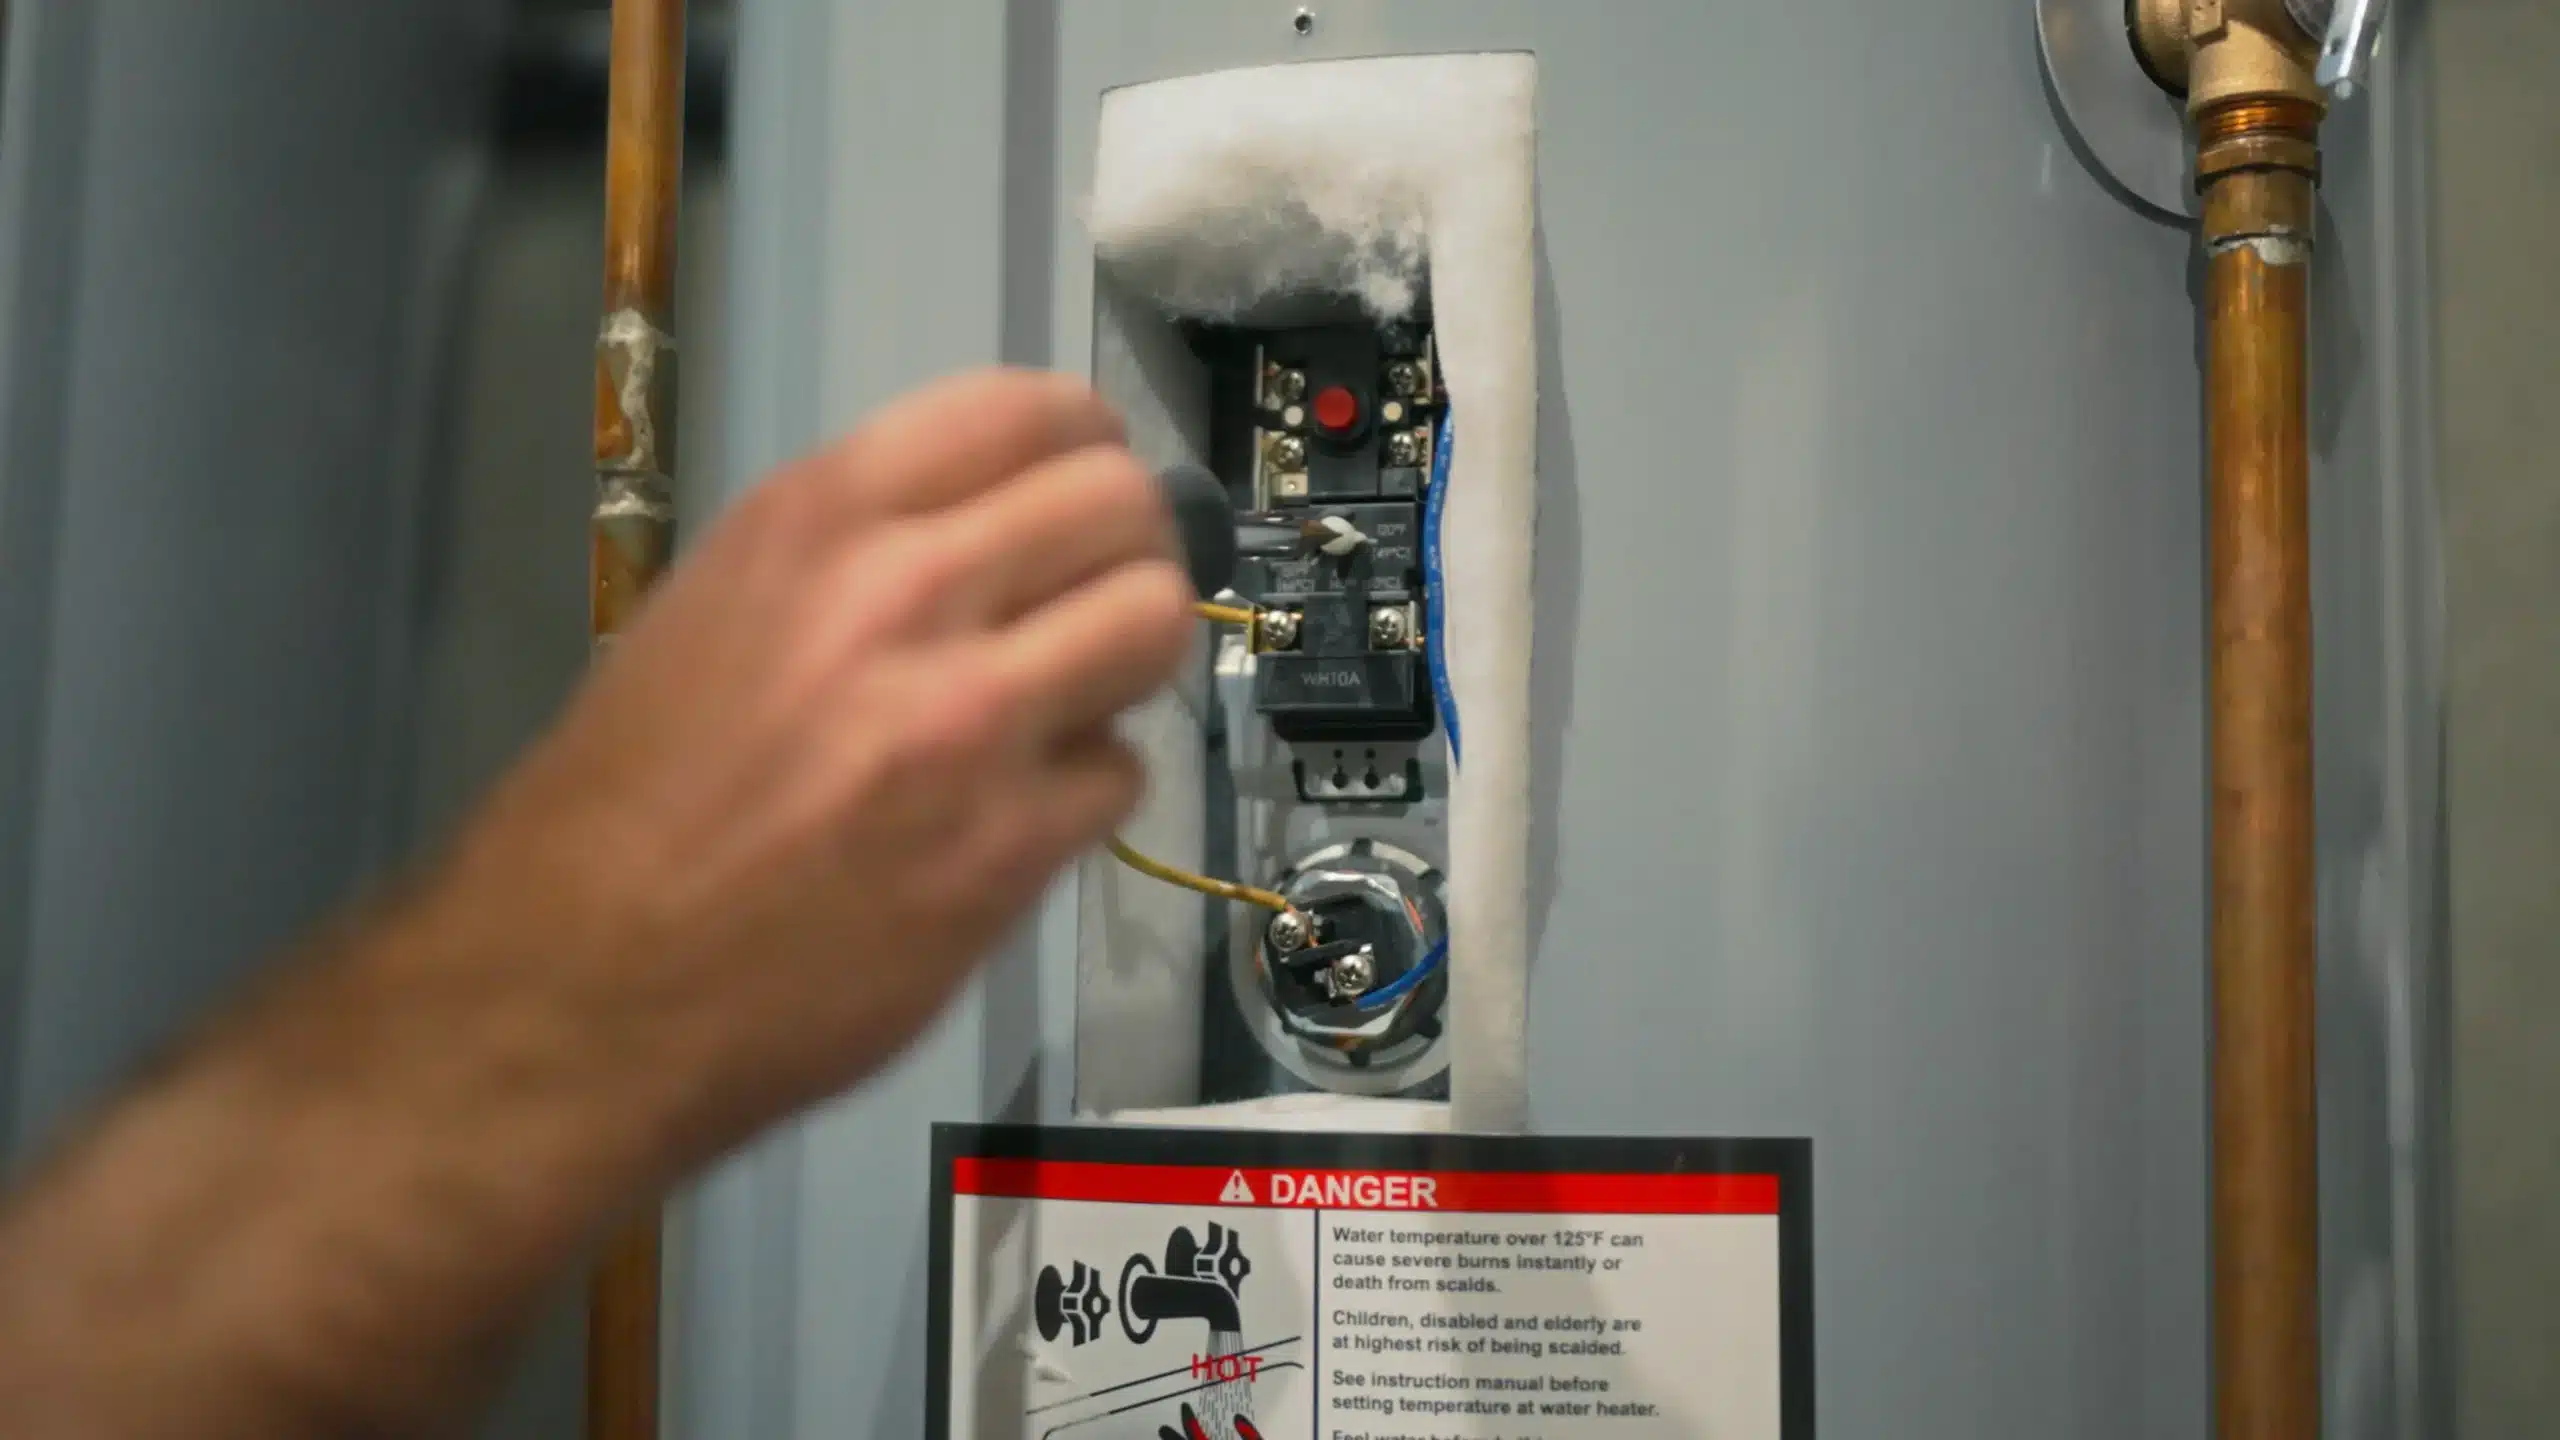
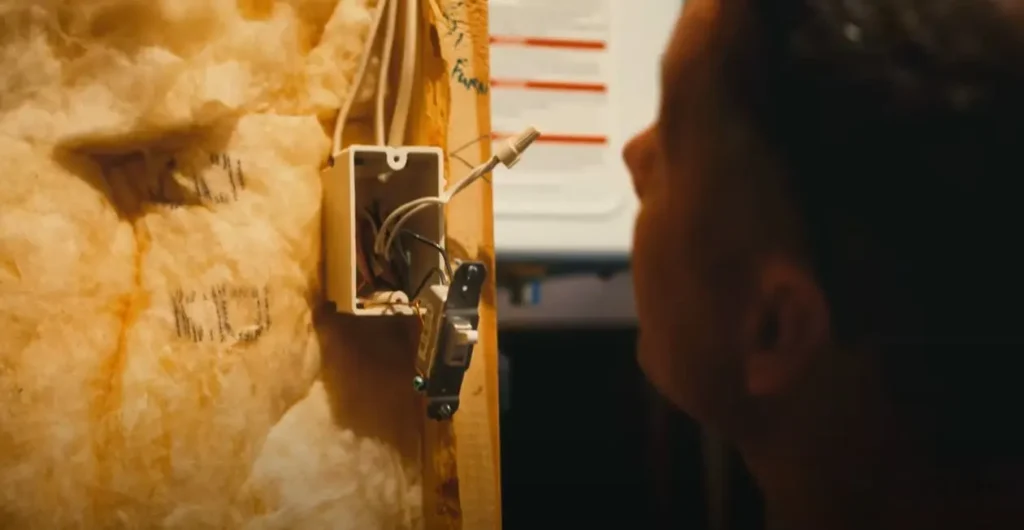
3. Connect the Wires: Once at the installation site, connect your wires to the water heater by attaching the ground wire to its green grounding screw and connecting the live (black) and neutral (white) wires to their respective terminals – make sure all connections are tight to prevent electrical arcing from taking place.
4. Ground the Unit: To avoid electrical shock, make sure your heater’s frame is connected to its ground wire.
Complying with Electrical Safety Standards
Complying with local electrical safety standards isn’t simply about following the law – it’s also about protecting both yourself and the device you are using. Here are key considerations:
1. Adhere to NEC Guidelines: For electrical installations, always abide by the National Electrical Code (NEC) and local codes for installations. These codes offer guidance regarding wire gauge, circuit breaker requirements and proper grounding methods.
2. Use GFCI Protection: For an extra measure of safety when installing water heaters in damp environments such as garages or basements, utilizing GFCI protection could be wise. These devices help guard against electrical shock by breaking off circuit when variations in current are detected and interrupting it when necessary.
3. Inspection and Testing: After finishing an installation, it’s wise to have all electrical work inspected by a certified electrician. A full test should include verifying voltage levels are correct as well as checking to make sure connections are firmly seated and appropriately insulated.
4. Maintain Clear Access to the Panel: Always make sure your electrical panel is accessible without obstruction, both for regular checks as well as in an emergency situation when power needs to be switched off quickly. This ensures smooth power cuts if necessary and emergency lighting in case an incident arises.
Step 7: Initial Start-Up and Settings Adjustments
Turning On the Water Supply and Powering Up the Unit
Once your tankless water heater has been properly installed, its initial start-up requires a systematic approach to ensure everything runs smoothly and safely. You should gradually turn on the main water source; doing this slowly allows the system to fill with water without sudden pressure spikes that could damage internal components. Also ensure any air is released from within it before engaging power; opening some faucets around your home might help release any trapped air for smooth flow of water.
With the water heater install finished and water system verified for leaks, you can power up your unit. For electric models this involves switching on their dedicated circuit breaker for electricity supply to the electric water heater only; gas models require opening the gas valve and following any specific ignition instructions provided with them such as switching on their pilot light or initiating electronic ignition sequence.
tankless water heater install method.
Adjusting Initial Settings According to Manufacturer Recommendations
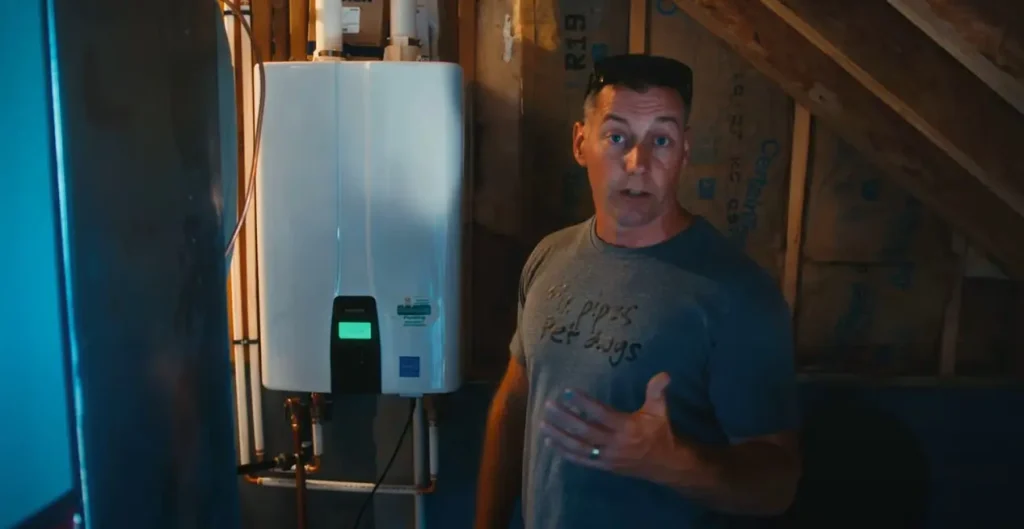
Once your tankless water heater is powered and running, adjusting its initial settings is key to its efficient operation. Consult your manufacturer’s manual for specific recommendations regarding temperature settings and any special operational modes that your tankless model itself might offer. Most tankless water heaters come equipped with digital control panels where you can set desired water temperature – typically 120 to 140 degrees Fahrenheit for residential purposes but this should always be adjusted based on personal preference and safety considerations.
Some models offer programmable settings to adjust operational modes based on time of day or water usage patterns, optimizing energy use while prolonging system lifespan. Eco modes may be available on some units to minimize energy use during periods with lower demand.
After initial setup and operation, it’s wise to closely monitor your system for signs of malfunction such as fluctuating water temperatures or strange noises that could indicate adjustments need to be made or there has been an issue during installation.

Step 8: Test the Installation
Checking for Leaks and Ensuring Secure Connections
Once your tankless water heater has been installed and properly set up, a thorough testing phase is essential to ensuring everything works optimally and safely. Begin by visually inspecting all gas tankless water heater connections (for gas models) for leaks; visually inspect each joint visually for drips or moisture; use soapy water applied around each connection if you suspect there may be an issue; for gas connections, you could apply the same techniques or use an accurate gas leak detector device instead.
Assure all fittings are tight without overtightening, as this could damage connections. Fittings on gas lines in particular need to be secure as leakage may pose serious hazards. Double check the manufacturer’s torque specifications to make sure any crucial connections are properly tightened.
Testing the Unit’s Functionality and Output Temperature Settings
Once you have checked for leaks and secured all connections, proceed to test the functionality of your tankless water heater. Follow the manufacturer’s instructions to turn it on; allow it to run; monitor for several minutes to make sure gas models ignite correctly and reach operational status without error codes or interruptions.
Test the output temperature to verify that your heater produces hot water at the set temperature. A thermometer placed near a tap near the water heater should allow you to do this accurately; the reading should match up closely with what was set on its control panel. Allow some time for water to run as tankless heaters may take some time before reaching their set point, especially if the tap is far from it.
Adjust the temperature settings as necessary to get your desired hot water output. This step is essential for comfort and safety; scalding temperatures must not be achieved while meeting household needs. In addition, monitor the unit during its first few cycles for any fluctuations or performance issues that might require further adjustments or checks.
Step 9: Ongoing Maintenance
Regular Maintenance Practices to Extend the Life of the Unit
Maintaining your tankless water heater is critical to its efficient performance and longevity. Regular maintenance tasks should include:
1. Descaling and Flushing: Scaling occurs due to hard water conditions, and can reduce efficiency as well as cause irreparable harm to your unit. A vinegar solution should be run through your heat exchanger at least annually in order to dissolve mineral deposits that have built up in its interior and dissolve mineral buildup in its entirety.
2. Filter Cleaning: Many tankless models feature inline filters designed to trap debris before it enters the unit, and should be regularly checked and cleaned as necessary to ensure optimal water flow. Check these filters every few months, and clean as necessary, to maintain optimal water circulation and water flow.
3. Ventilation Check: For gas models, ensure the venting system remains unobstructed and undamaged. Proper working of venting or gas lines is key for safe operation; obstructions or leaks could lead to carbon monoxide buildup which poses serious danger.
4. System Inspection: At regular intervals, inspect all visible components of a tankless water heater for any signs of wear or damage, such as corrosion around fittings or water leakage, as well as making sure all electrical connections are tight.
When to Seek Professional Maintenance or Repairs
While many aspects of tankless water heater maintenance can be handled on your own, certain situations require professional attention:
1. Error Codes and System Alerts: If your tankless water heater displays error codes or alerts, referring to its user manual can help identify their meaning. Some issues may require resetting, while others could signal more serious problems that require professional diagnosis.
2. Performance Issues: If you notice a significant decline in water temperature or heating delays, professional services might be required to rectify them. Such symptoms could indicate issues with either your heat exchanger or fuel supply for gas models.
3. Annual Checkups: Even if there are no visible problems, having your tankless water heater professionally inspected annually by a trained service professional can ensure all components are functioning as intended and potentially help avoid unexpected failures.
4. Complex Repairs: Any complex repairs involving gas lines, electrical components, or the internal mechanics of the unit should generally be managed by a trained technician in order to ensure safety in accordance with local codes and manufacturer recommendations.
Mastering Your Tankless Water Heater Installation: A Path to Energy Efficiency
As we come to the end of this comprehensive guide on installing a tankless water heater, it is imperative that we revisit each step to ensure a successful setup. From gathering necessary tools and materials to making precise electrical and plumbing connections, each phase plays an integral role in increasing its overall efficiency and performance and making your tankless water heater worth it. It goes without saying that while tankless water heater costs might appear daunting on first look, a high-quality unit that is installed properly will offer great advantages over a traditional tank water heater. Proper installation of tankless units not only extends lifespan while simultaneously improving unit’s efficiency and providing significant cost-cutting opportunities as well as significant energy savings!
Remind yourself of the significance of each step:
- Preparation and safety should always come first, with all power sources properly managed according to local regulations.
- We are removing and disposing of old devices responsibly in consideration of environmental impacts.
- Install and connect a tankless water heater correctly, paying careful attention to both its water and gas lines as well as all electrical connections; all connections must be secure.
- Care should be taken after installation to detect leaks or issues within the setup, which could require conducting additional tests post-installation.
For optimal performance from your new tankless water heater installation, take extra time and care during and after installation to double-check that all connections and components are properly attached and functioning as planned. Consultations or professional installation services may provide extra assurances that your installation complies with all applicable safety standards and best practices.
Need Expert Installation or Repair of Your Tankless Water Heater? Contact us at Smedley Plumbing!
Don’t let the complexity of installing a new tankless water heater scare you! At Smedley Plumbing, we specialize in seamless installations and repairs to ensure your home enjoys efficient, endless hot water.
Our team of certified professionals is ready to provide premium service tailored to your needs – so why wait? Contact us today to schedule your consultation and take the first step towards energy efficiency and improved home comfort. Let us handle the technicalities while you enjoy the benefits!